Fax: (0 80 36) 9 08 20- 28
E-Mail: info@bbw-lasertechnik.de
Gewerbering 11
83134 Prutting
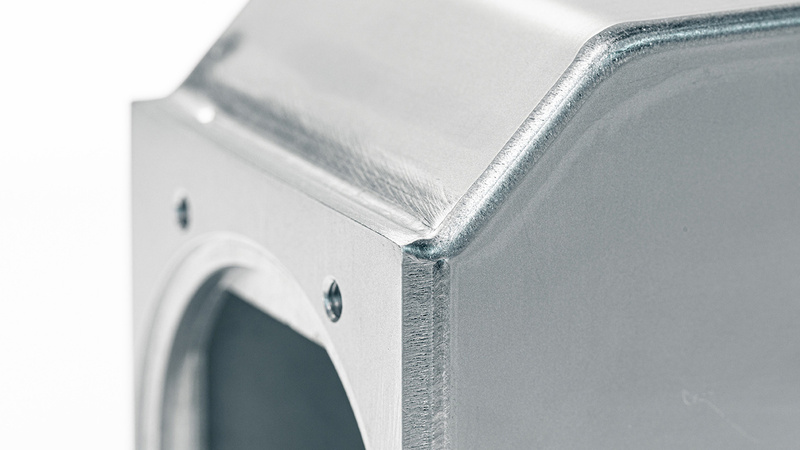
Electronic and mechatronic systems must be protected from contamination in production facilities. These housings are often made of stainless steel and laser welded to ensure they are sealed tightly.
Solutions for various electronic and mechatronic connections must be taken into account here. Plus, the energy input requires special attention as sensitive components must not be damaged during laser welding. For this reason, pulsed laser welding is often used in such applications.
In these cases, laser-cut and bent or milled parts are often used, with die-cast aluminium chosen for larger quantities; for example, for applications in automobile manufacture.

As in other laser material processing methods, the foundations of laser welding are in the interaction between laser radiation and the material. Compared to laser cutting, however, a great number of parameters must be taken into account, significantly increasing the complexity of the process.
When a laser beam hits a material, it is heated to its melting point. If the material is simply melted by the laser beam, this is referred to as heat conduction welding. By using higher intensities, the material is not only melted, but also vaporised, forming a vapour capillary. This is known as deep penetration welding.
Whilst perhaps not obvious at first glance to consumers, laser welding is becoming increasingly attractive to manufacturers – for example those in the household appliances industry, the cooling and energy technology industry, and the e-mobility sector – due to its many advantages. Successful laser welding for products starts with design and development.
Metallographic tests are the standard method for assessing laser-welded seams – both in process development and during series production. This means that a number of parts per batch are subjected to destructive testing during series production. At the same time, visual inspections can also be carried out to immediately detect changes in the welding process. For automated production and large series, it is also wise to use online process monitoring. Such monitoring recognises changes in the welding process directly, without manual tests and without damaging anything. An ultrasonic inspection can also be carried out for jobs with especially strict requirements, such as those in the aerospace industry. 3D measurements can optionally be taken to detect welding distortion. In addition, product-specific tests – such as using certain inspection equipment – are also common to determine the mechanical strength of weld seams.
Gas, solid-state and disk lasers are typically used as laser beam sources. Today, fibre-bound guidance technology is preferred, although CO2 lasers, for example, are still guided by mirrors.
There is a difference between robot-guided systems and Cartesian axis systems when it comes to the kinematics of the machining head.
With regard to actual movement of the laser beam, there is a distinction between the use of fixed optics and scanner optics. Fixed optics are mainly used for small quantities and materials that can be easily welded. On the other hand, scanner optics are being used more and more for larger quantities and difficult materials. Scanner technology enables very high welding speeds and oscillations of the laser beam, whilst also optimising cycle time and quality of the weld seam. To make up for the disadvantages posed by fixed optics, there are now fixed optics with a wobble function available. Large gaps, for example, can be bridged with such optics.
Double-core fibres are also becoming increasingly important: they are used to increase the quality of weld seams in deep penetration welding.